Tutorial: Deploy a Flask app with Docker on Raspberry Pi


We have just installed Docker on our Raspberry Pi, now it is time to bring into action. Do you remember the EZW, Easy Weather Forecast Flask app? Yes, we are going to deploy this EZW flask app. Of course, we do it in the Docker way!
Prerequisites
- Docker installed on a Raspberry Pi (read here for help if you haven't done that)
- Easy Weather Forecast (EZW) flask app source (read here for help if you haven't downloaded the source)
- Be a fan of Code A Star
Build our EZW Docker image
On our Pi, let's copy the EZW source and create a Dockerfile there. The Dockerfile is a text file without any file extension. It is used for telling our Docker on how to build an image. Then our file structure should look like this: | Dockerfile \ezw | Pipfile | ezw_app.py | ezw_model.py | ezw_controller.py \templates All we need to do is updating the Dockerfile, then Docker will follow the file and build an image. So what's inside a Dockerfile?
Create a Dockerfile
A Dockerfile is a list of build instructions. You can read the official guide here. In our EZW case, we can build an image with following content: FROM python:3.6-slim-stretch RUN pip install -U pip RUN pip install pipenv COPY ./ezw/Pipfile . COPY ./ezw/Pipfile.lock . RUN pipenv install --system EXPOSE 5000 COPY ./ezw /app WORKDIR /app CMD ["python3", "ezw_app.py"] The file just tells Docker to:
- Download a minimal Python 3.6 from Docker Hub
- Update the version of pip
- Use pip to install pipenv
- Copy Pipfile from /ezw folder
- Copy Pipfile.lock from /ezw folder
- Use pipenv to install dependencies to its parent system (i.e. the system enclosed in a Docker image)
- Open TCP port 5000 for this image
- Copy content from file system folder /ezw to image folder /app
- Use /app folder at working directory
- Run "python3 ezw_app.py" command to start the EZW Flask app
Once we have prepared the Dockerfile, it is time to build our first Docker image.
Build a Docker image
We can run following command to make the magic happen: $docker build -t ezw . which we use "-t" option to define an image tag "ezw".
Run from a container
Now we have an image, we can run it with a container: $docker run -d --name ezcon -p 8081:5000 -e DARK_SKY_KEY=[your Dark Sky API Key] ezw The parameters we have used:
- -d => run container in background
- --name [container name] => the name of the container, in our case, "ezcon"
- -p [host port]:[container port] => bind host port to container port, in our case, we bind port 8081 to container exposed port 5000
- -e DARK_SKY_KEY=[your Dark Sky API Key] => set environment variable DARK_SKY_KEY
- [image name] => the image be loaded in the container, in our case, "ezw"
After running the above command, we can use a browser to access the Raspberry Pi hosted EZW container.
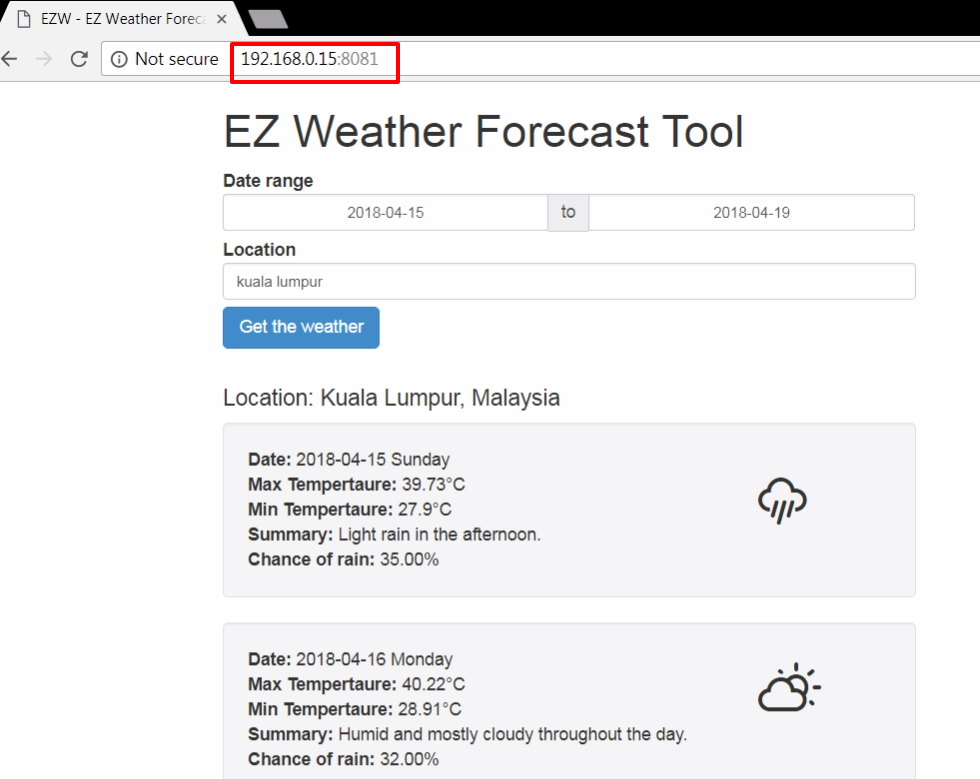
Please note that 192.168.0.15 is my Raspberry Pi's address (you may change it to your network setting) and the port 8081 is the port bound to the container.
Stop a container
When we decide to stop the container, we can run: $docker stop ezconwhich "ezcon" is our container name, you may need to change it if you run the container with another name.
If you want to remove the container from your Raspberry Pi, you can run:
$docker rm ezcon
If you want to remove the image from your Raspberry Pi, you can run:
$docker rmi ezw
What have we learnt in this post?
- build a Python Flask image from Raspberry Pi
- run an app from a container on Raspberry Pi
- stop and remove a container
The complete source package and Dockerfile can be found at: https://github.com/codeastar/ez_weather_forecast_with_flask